Published on April 20, 2015
Error codes 17895 in Outlook 2011 occurs when the system files in your Mac OS got misconfigured.
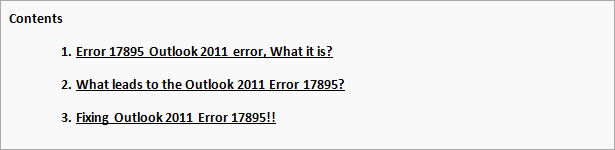
In this blog segment, you will get to know about how to fix the error 17895 in Outlook 2011 manually. Additionally, you will also get to know how to troubleshoot some other error messages which is related to this error 17895.
Error 17895 Outlook 2011 error is in the error format of Hexadecimal. This is a very general error code format which is used by the Windows & other compatible S/W & driver.
This code is commonly used for identifying the error caused. When you look at this error, you will find that the Outlook 2011 error 17895 has the error in number with technical description, but it may be seen that the Error 17895 Outlook 2011 format has more parameters. This is as the hexadecimal code in this very error has the address of the memory locations in which the instructions were loaded during the error.
This very Error 17895 causes due to the damage of file systems. These corrupted files of the system may be a threat which might damage the whole system.
There could be possibly various reasons behind the system file errors likewise, incomplete installation or incomplete un-installation, wrong deletion of any apps or H/W. Other reasons can be the improper shutdown or if the computer was recovered recently from a spyware attack. All these factors results in corruption of Windows system files.
Fixing of Error 17895 can be done manually in a very few steps: